Alluminatis Aluminum Fuel Jerry Can Deluxe Tool Box Storage Boxes – Free Shipping
ALUMINUM STORAGE BOXES
Aluminum box designed to fit 3-4 Jerry Cans for extra fuel or water for those long trips. The Standard Box comes in two sizes 21″ wide x 15″ deep x 6″ tall and 28.25″ wide x 15.5″ deep x 6″ tall.

Aluminess ALUMINUM STORAGE BOX installation instructions
FUEL LOCKER BOX
This aluminum box is a step up from the Standard Open Box. It features a locking stainless front strap and 3″ rails on top for extra storage and is 20″ wide x 15″ deep x 20″ tall.

Aluminess ALUMINUM Box-Jerry-Can-Rails-Installation instructions
GALLEY BOX
This box was originally designed for the Honda 2000 generator, but now is used for a variety of reasons. It’s 20″ tall x 16″ deep x 24″ wide. This box is also watertight for safe storage.
Aluminess Aluminum BOX-Galley-Deluxe-Box installation instructions
DELUXE BOX
If you have a lot to carry or bulky items, then the deluxe box is for you. It is 30″ tall x 16″ deep x 24″ wide and is watertight. Many people will install a shelf (sold separately) to help organize storage.
 Aluminess Aluminum BOX-Galley-Deluxe-Box installation instructions
DELUXE BOX WITH DROP DOWN DOOR
If you have a lot to carry or bulky items, then the deluxe box is for you. It is 30″ tall x 16″ deep x 24″ wide and is watertight. Many people will install a shelf (sold separately) to help organize storage. The drop down door is perfect for outdoor kitchens or to use as a work surface.

Aluminess Aluminum BOX-Galley-Deluxe-Box installation instructions
BOLT ON RAILS FOR DELUXE OR GALLEY BOX
If your deluxe or galley box still doesn’t provide enough storage, then you can add rails to the top to carry even more. Box rails are now a bolt on kit for added versatility and reduced risk for shipping damage.

Aluminess BOX-bolt-on-rails installation instructions
BOX SHELF
A box shelf is a great way to organize the belongings in your box. It can be hard mounted or removable depending on your needs. The storage box shelf is designed to fit in 24″ wide boxes.

Aluminess BOX-SHELF-Installation-Instructions-2Installation instructions
DELUXE BOX DOOR TOOL KIT (TOOLS INCLUDED)
This insert is designed to mount to the door of our deluxe box. It is a great way to organize tools! This kit includes the board, clips and a variety of tools!
Tool kit includes: Emergency LED Flares, Tire Pressure Gauge, LED Flashlight, Hammer, Measuring Tape, Channel Lock Pliers, Crescent Wrench, Screwdriver, Duct Tape, Standard Pliers, Needle Nose Pliers.

DELUXE BOX DOOR TOOL KIT (TOOLS NOT INCLUDED)
This insert is designed to mount to the inside door of our deluxe box. It is a great way to organize tools! This kit includes the board and clips.

STANDARD BOX INSTALLATION INSTRUCTIONS
VARIOUS MODELS
Please read before beginning
• Stainless steel hardware may bind together when
tightening—It is recommended that you apply an antiseize assembly lubricant to the threads of each bolt
before assembly
Required tools
• Standard wrench set
• Philips head screwdriver
• Electric drill
• ¼” Drill bit
Included hardware Quantity
• 70008- 1/4-20 Nut with nylon locking insert 3
• 70009- 1/4 ID x 5/8 OD Washer, Stainless steel 3
• 70038- 1/4-20 x 2 3/4″ Philips head countersink cap screw 3
• 70039- 1/4″ Fender Washer Stainless steel 3
• 70040- 1/4 ID Countersink washer 3
• Anti-seize packet, 2g 1
Assembly instructions
• Ignore the flanges
• Place the box on the swing arm.
• Drill a ¼” hole through the box & pipe in 3 places. Fasten each bolt as you drill the hole to prevent
the box from moving
o If possible, drill a hole through the box and vertical pipe in the upper right-hand corner as
you face the back of the van
• Fasten the box to the vertical swing arm pipe (see picture below)
o The ¼” bolts should go through the counter sunk washer then the pipe
o On the other side of the pipe put the regular washer on then the ¼” Nylock Nut
BOLT, ¼-20 x
2 ¾” Flat
Phillips
WASHER, ¼”
Countersink
Swing Arm Pipe
WASHER,Aluminess ALUMINUM STORAGE BOX installation instructions
| TYPE |
STANDARD OPEN STORAGE BOX ,FUEL LOCKER BOX ,GALLEY BOX ,DELUXE BOX ,DELUXE BOX WITH DROP DOWN DOOR ,BOLT ON RAILS FOR DELUXE OR GALLEY BOX ,BOX SHELF ,DELUXE BOX DOOR with TOOL KIT ,DELUXE BOX DOOR without TOOL KIT |
|---|
Shipping costs may be higher for orders shipped outside the 48 contiguous U.S. states (including Alaska, Hawaii, and U.S. territories). We’ll contact you if additional charges apply before processing your order.
(*) SALES TAX INFO: California, Florida and other States, that have sales tax. We will beat others prices, as we have no sales tax in Oregon. Products that need to be dropped shipped may have additional charges, please contact us and we will give you the best price possible.
(**) SHIPPING INFO: Shipping Cost still apply with local install or local pick up, but we discount this so you can save. Contact us for a more precise estimate.
Freight Shipping Policy:
Most freight shipping rates are calculated for commercial addresses with loading docks or forklifts. If shipping to a residential address, additional fees such as liftgate service or delivery surcharges may apply. We’ll contact you with any adjustments before your order is processed.
Related products
2015-2019 Subaru Outback AFE 2 Inch Lift / Leveling Kit
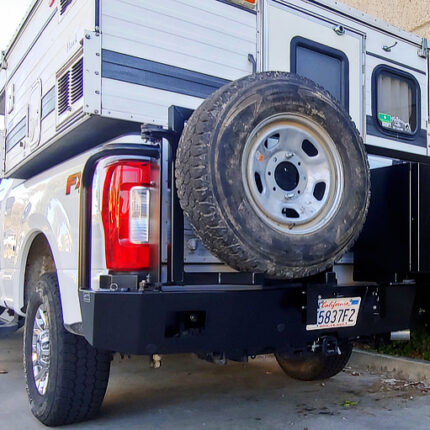
Alluminatis Ford Super Duty 2017-2019 Rear Bumper
$2,649.95 – $3,049.95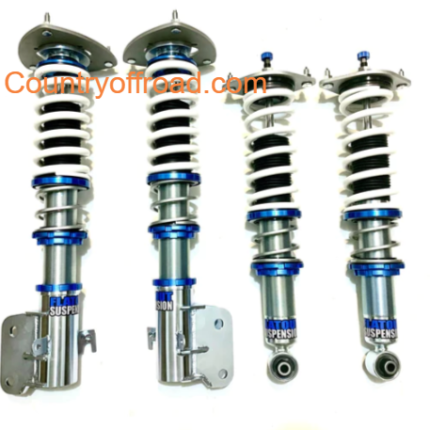
Subaru Lift Suspension Forester Coilovers [SR]
$1,580.00 – $1,680.00
Subaru Lift Suspension Impreza WRX Coilovers [SR]
$1,580.00 – $1,680.00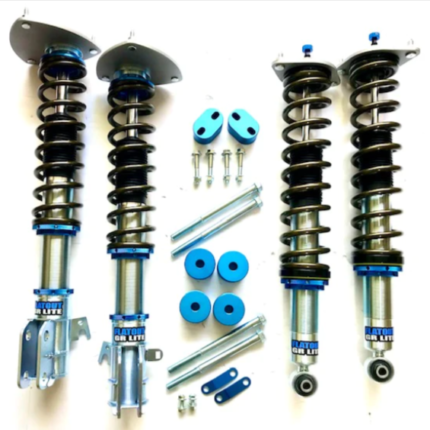









Reviews
There are no reviews yet.