Click Here for instructions to seat swivels that fit on your 1996 and Older Van.
Country Offroad believes in empowering our fellow E-Series enthusiasts to do their own installs. These instructions cover the 1997+ Econoline E-Series Swivel Adapter Installation. But don’t worry, we also offer installation services at our shop in Portland, Oregon.
To schedule your next seat swivel install with us click here
1997+ Econoline E-Series Swivel Adapter Drivers Side click here
1997+ Econoline E-Series Swivel Adapter Passenger side Click here
More information about the Ford E-Series
Changes and Additions
The handle for unlocking and rotating your seat is located behind the seat, not in the front.
To maintain the pivot offset after turning the swivel around, we’ve modified a Driver Side Swivel to function on the passenger side of your 1996 and Older Van. Alternatively, a Passenger Side Adapter has been adjusted to work on the Driver side.
We welded new supports onto the swivel adapter since the angle of the seat differs between the older and newer vans.
Seat Swivel Install:
- First you will need to remove the seat. Be sure to disconnect the wiring connector before removing the seat,

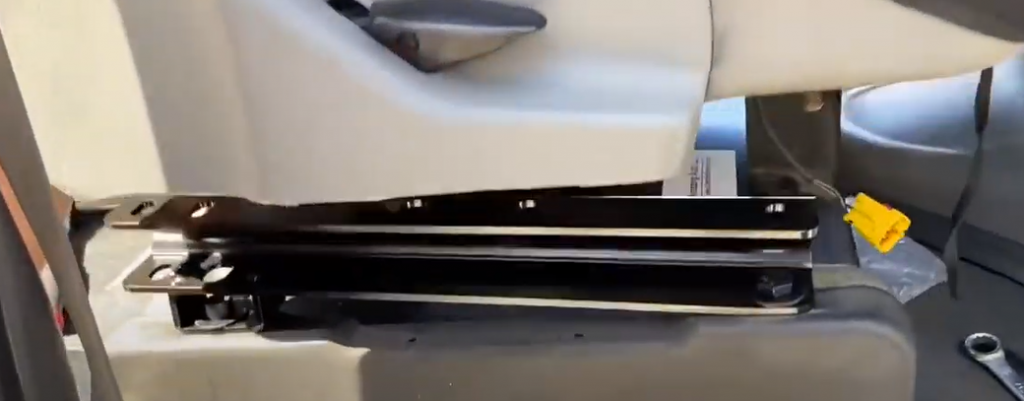
- Pivot the swivel first, then place the hex head bolts w/ washers in front two holes, set the allen head bolts w/ washers in the rear two holes, see picture for reference:

This small support bracket goes toward the back of the van, see next image:

- Install hand-tight only, the nuts w/ one washer each on all 4 bolts,

- Tighten all 4 mounting bolts with hand tools, snug

- Next, cut 1” off lower trim for seat:


Then, place seat on mount with swivel locked in driving position.

- Use the factory seat mounting nuts/washers to secure seat to swivel adapter.
- Be sure to reconnect the wiring connector through the swivel hole,


